Friday, April 6, 2012

Letter D is for Dinosaur

After our great two weeks of Earth Day day-by-day series, we are back to our regular activities posts. This time we would like to share some letter D activities that you can do with your preschoolers. As you can see below, the big kids participated as well!!!

The little kids are working on their special ABC book. Every week we go over one letter of the alphabet and they decorate a page with something that begins with that particular letter. We did it last year with the big kids and the final product was really rewarding for them. I will create a separate post to explain to you the process. 

Anyway, back to letter D - first they decorated letter D page with Do-a-dot paint (D for dots).


Then, they went on to trace letter D with erasable marker. We got the template from Erica at Confessions of the homeschooler. We print the page and place it inside a protective sleeve. That way we can keep practicing over and over.


From the same website, we printed this sheet. The kids use Do-a-dot to color all the circles of the letter in. This helps them to faster recognize the shape.


It's time to dig up some dinosaurs! We put small rubber dinos into a plastic bag filled with shredded paper. Then I hid them. Be prepared that this could become dusty and messy but overall they liked digging up the dinosaurs!


The big kids used the small rubber dinosaurs to help them with additions. 


Dropper painting

This was a bit more difficult for the little preschoolers to do but at the end they all mastered the art of squeezing and letting go, everyone had fun!

You will need:
medicine droppers
paint palette
paint
water
card stock paper

Fill up the paint holders with paint and dilute it with water so the paint becomes more watery and it's easier to pick it up with the dropper. 


Then have the kids pick up the paint with the droppers and drip the paint all over their paper.


Ask them not to use their fingers, but they can use their droppers to smudge the paint around the paper.


Little man at work...


Kids had a blast!


...and masterpieces were born!


Thursday, April 5, 2012

Popsicle sticks Spelling puzzle

I keep trying to come up with new ways to practice our spelling words. This is a little spelling puzzle made out of popsicle sticks. 

Print out a list of spelling words the kids are learning. 


Use permanent marker to write each letter of each word on popsicle sticks. 


Have kids build the words according to the sheet.


And finished product!


Eventually I will not give them the sheet with words, they will have to put the words together by memory.


Wednesday, April 4, 2012

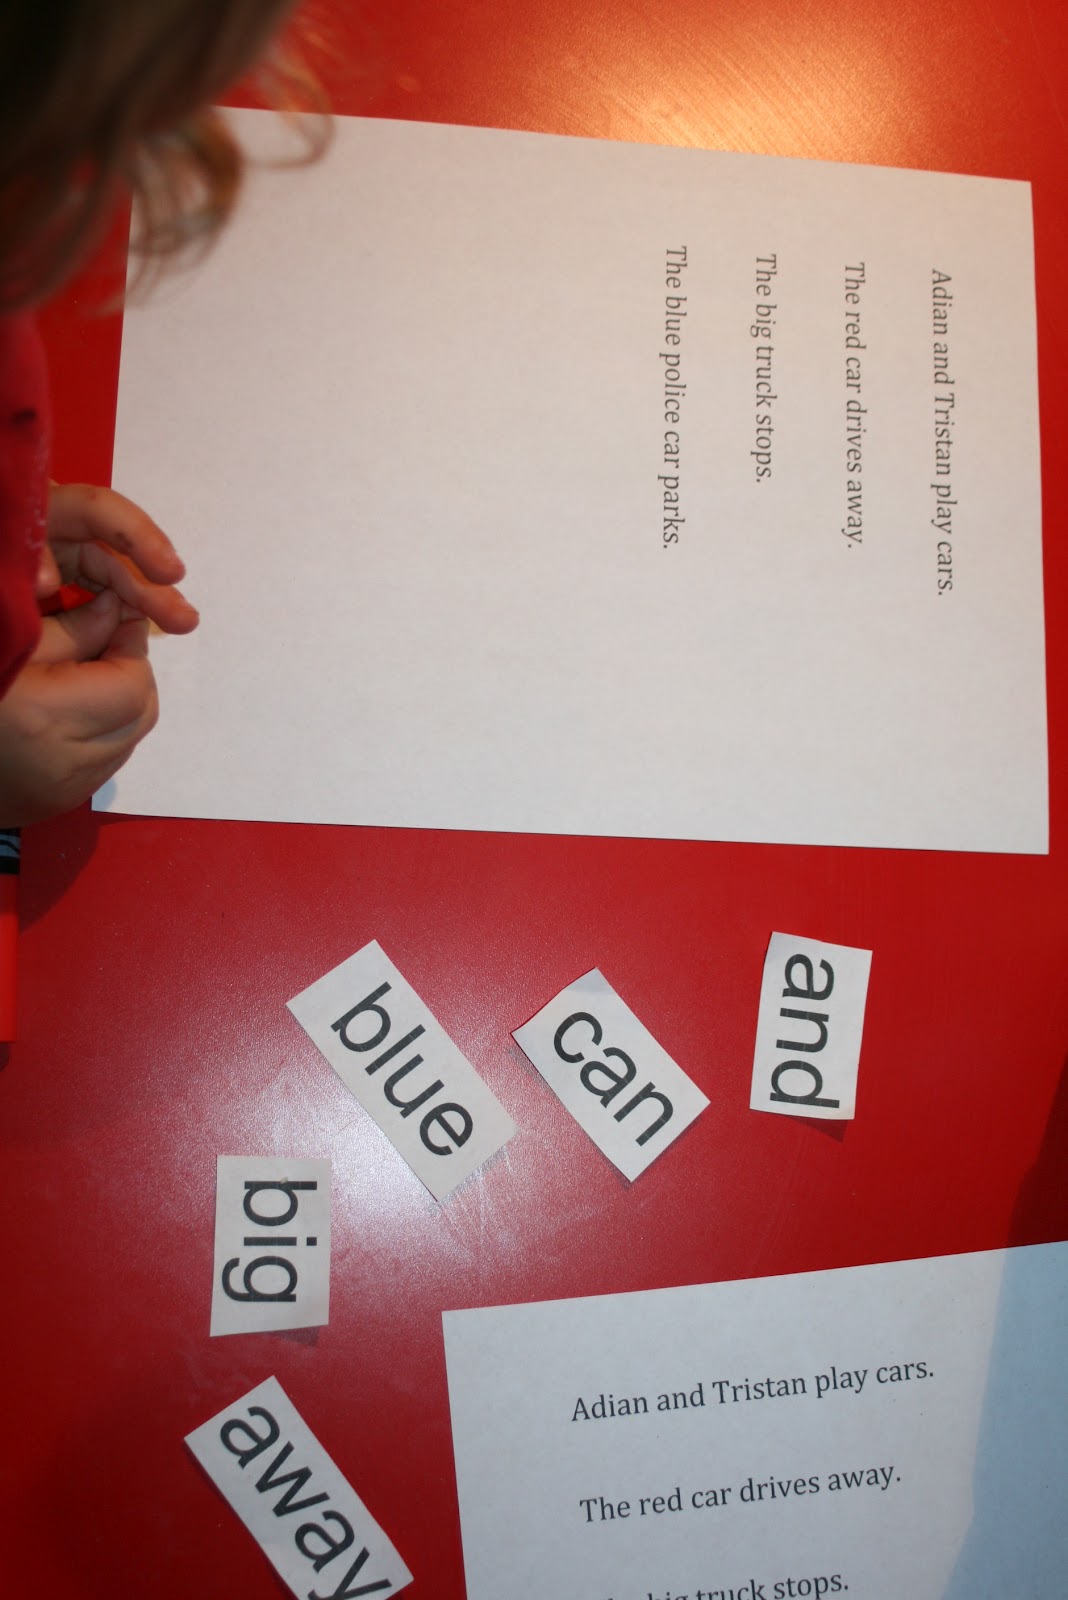
Digging for Sight Words

One of many fun ways kids can learn sight words.
Fill a bigger bowl with sand. 
Put together a list of sight words, you want the kids to learn. 
 Cut out some of them (I used 3 words per child) 
then hide them in the sand.


Have the kids dig for the words, one at a time.


After they find one, 
have them re-write it on the erasable board. 


I typed up few sentences, which included the sight words they found in the sand, have them read the sentences, and circle the sight words. 


Make the sentences personal, so the kids can relate. 


Tuesday, April 3, 2012

Easter eggs numbers addition and number recognition

We are in the Easter mood around here and so we are trying incorporate the excitement into our learning. 

In this math activity we used plastic Easter eggs, Jelly Beans, eraser board and erasable markers.

I filled up the plastic eggs with random amount of jelly beans and placed them into our math workbox. 


The boys had to open two eggs at a time, write the amount of the first one, write the plus sign and then write the second number... trying to keep the numbers on the red line. Then they had to add the amounts and write the result. 


Are you asking if they got to eat their props? Of course they did, but not till all their problems were finished ;-)


I love activities that get to be put together in just a short time with things you can find around the house. 


...and look what we did for the little preschoolers:

Number Recognition

Fill up the Easter eggs with Jelly beans so that each of them has the same amount of the jelly beans as it is written on each nota card.


Have the kids line up the card in the right numeric order first. Then have them open one egg at a time and have them place the jelly beans on the correct note card with the same number as the amount of jelly beans they opened.


This is how it should look when finished.


Have fun! 

Monday, April 2, 2012

Coloring Easter eggs the natural way

Last year, I tried to look for some natural ways of egg coloring. I decided to share this with you, so you can color your eggs this year and actually eat them as well!

Here is our work station (check lower for details on what I used):


Blueberries would give me the purple colored egg.


Onion peels always end up in rustic colored eggs. 


I was hoping for orange color while using sweet pepper spice in this pot.


Could grass help me achieve a green colored egg?


I decided to try leaf prints on the green colored eggs...


During the process...


I left it boiling for about 15 minutes.


And here is the result:


By far my favorite were the blueberries and onion peels. What didn't work at all? The grass... The eggs colored very lightly. And the leaves ended up sliding off the eggs so next time I have to secure them better.


Do you have a natural way of egg coloring? Please feel free to share and attach your link to your comment!

HAPPY EASTER!!!


Sunday, April 1, 2012

Easter egg pattern

I picked these Easter eggs in the dollar store knowing that we can put them to some good use! I thought the preschoolers are ready to learn some serious pattern making. We gave them each two different egg colors. 


To help them figure out the point of pattern making, put few eggs in a row in the desired pattern. Say the colors out loud and let them tell you, which color comes next.


Let them possibly put some more in by themselves...